
Both mark "decision areas", but they look at the market differently.
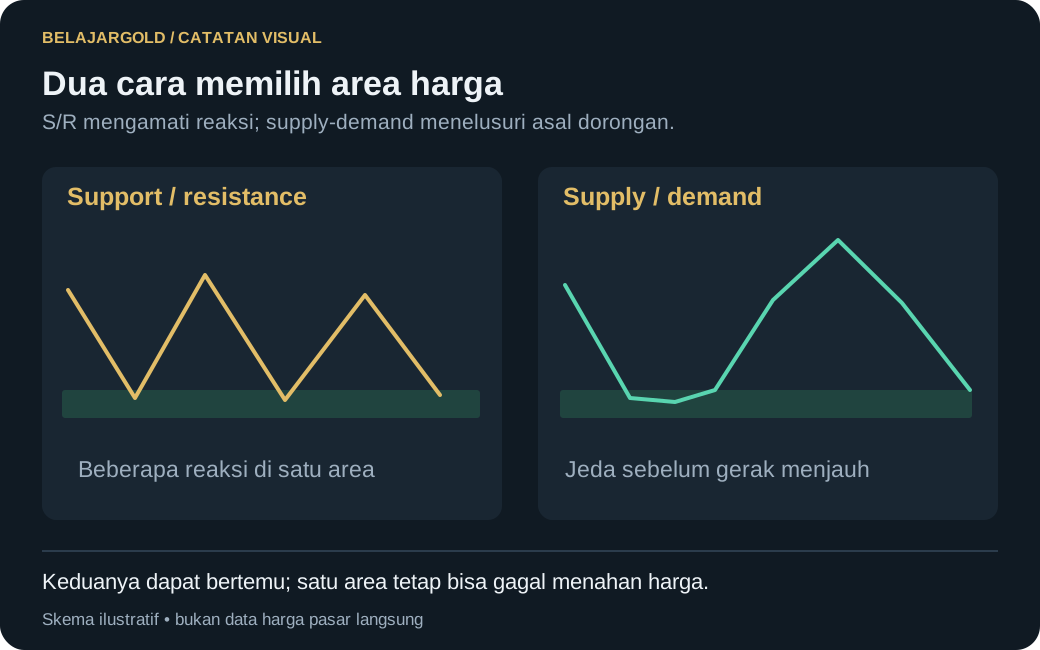
- Support/Resistance focuses on levels that have been tested repeatedly.
- Supply/Demand focuses on the area where an explosive move started, and is often used only once or twice before it is "used up".
Many traders combine them: an S/D zone that sits right on an important S/R level is usually more worth watching.
Save your learning progress
Sign up free to mark lessons as completed and unlock all member lessons.
Sign Up Free
Risk disclaimer: all content on this site is provided for educational purposes and is not financial advice, signals, an invitation to trade, or a promise of profit. Trading carries a high risk and may result in the loss of part or all of your capital. Check the legality of service providers in your jurisdiction.